To complete the installation, the six fiberglass poles needed to be installed. They were brought up the tower two-at-a-time. Two poles are tied to a bridle made up of nylon rope (white line) and a metal hook. Another rope (green line) is then attached to the hook and used to pull the poles up by hand.
Video 13
Once a set of poles are up on the tower, each pole is then inserted into the element support tubing of the EHU. The rubber boots that were installed on the EHU’s to prevent the element support tubing from being damaged when the boom was hoisted are removed. These boots will be brought down and put on the next set of poles.
To steady the poles and line them up for insertion, I use my shoulder as a fulcrum. This makes it very easy to insert the poles. Once the poles are inserted, the rubber boots that were installed on the poles to keep the ropes from slipping are now used to secure the poles to the EST’s.
The first set of poles are installed on the driven EHU.
Video 14
Video 15
In Video 15, I said I was going the wrong way with the rotation of the boom and that was incorrect. It doesn’t matter which way the boom is rotated. The issue was that I was confused because of the east guy line. On the other tower, I disconnect the guy line on the side that has the antenna being installed. I have two sets of guys on that tower so it’s no big deal. So when the boom came to the guy line on this tower, I wasn’t sure what to do because I normally don’t have a guy line there. This is the first time I installed a 3-element SteppIR on this tower. When the antenna was 2 elements, I didn’t use a PVRC mount to install it even though I added the PVRC mount later.
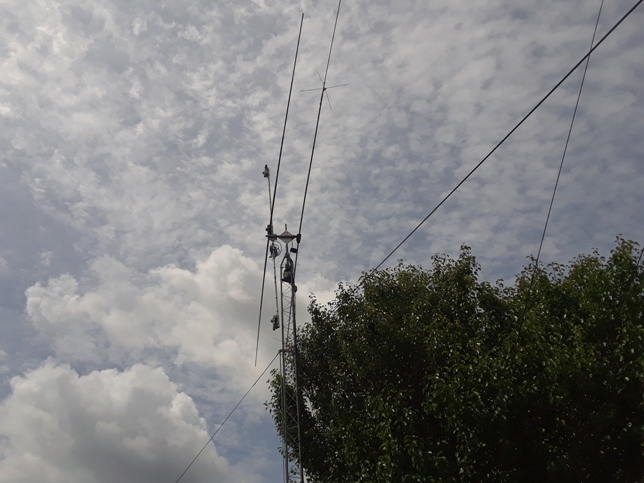
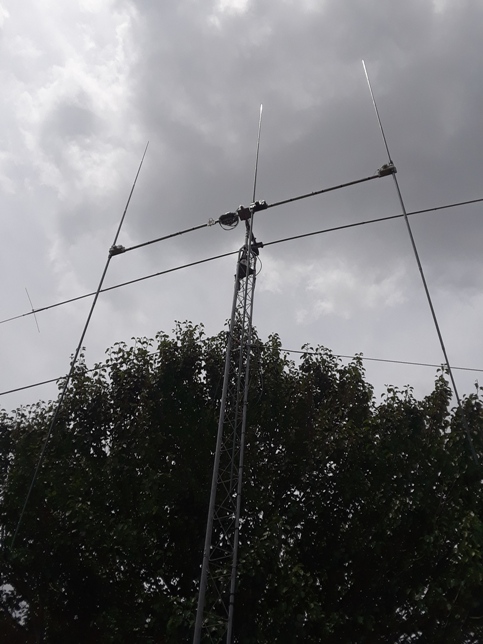
This is what it looks like from the ground. The poles are installed on the DVR EHU and the boom has been swung around to put the REF EHU lower on the tower where the poles will be installed on it.
Next, the reflector EHU poles are installed.
Video 16
This is what it looked like after the reflector poles were installed.
After the reflector EHU poles were installed, the boom was swung around once again to allow the director EHU poles to be inserted. Before doing so, I dropped the east guy line because it was too difficult to get the boom around it.
Video 17
The director poles are then installed.
Video 18
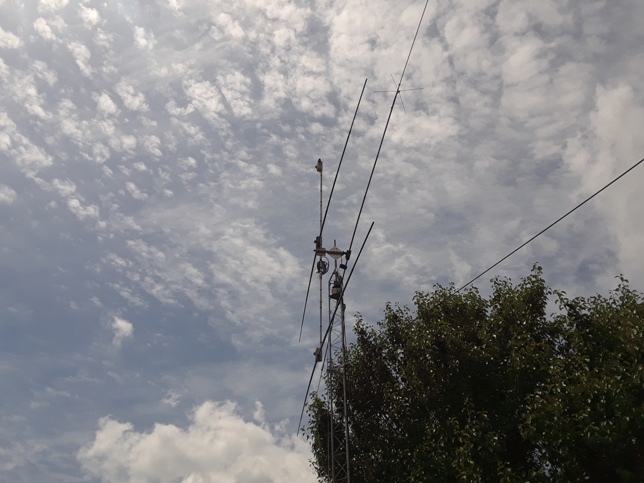
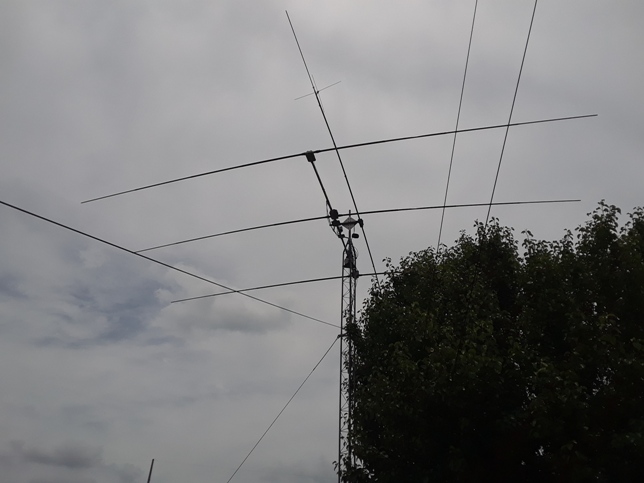
This is what it looked like after all the poles were installed.
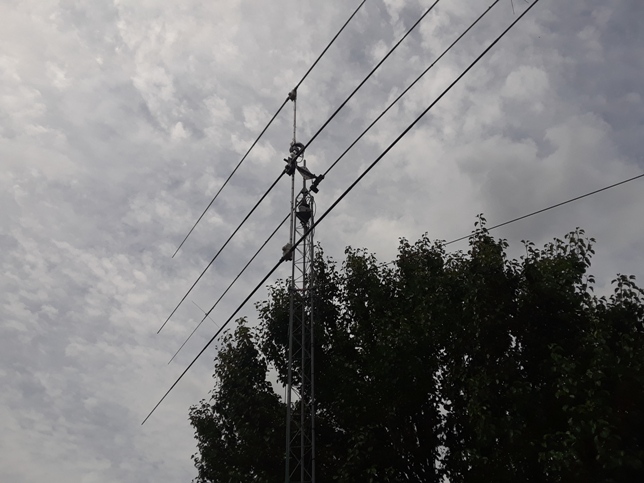
After the director poles are installed, the boom is then swung back up and made horizontal and the east guy line was reattached.
Video 19
The antenna is placed in it’s final position. You can see how easy all this is. I was able to rotate the boom with one hand while holding the camera with the other hand. Because of the PVRC mount, I am able to install this antenna by myself. My XYL assisted only as a ground observer.
Video 20
The fiberglass poles are installed and the antenna is in its final position.
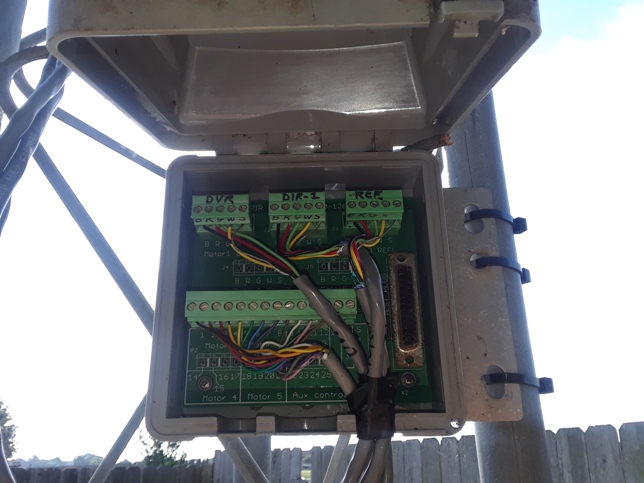
Before the antenna could be tested, the control lines were run down the tower and plugged into to the SteppIR control box mounted at the base.
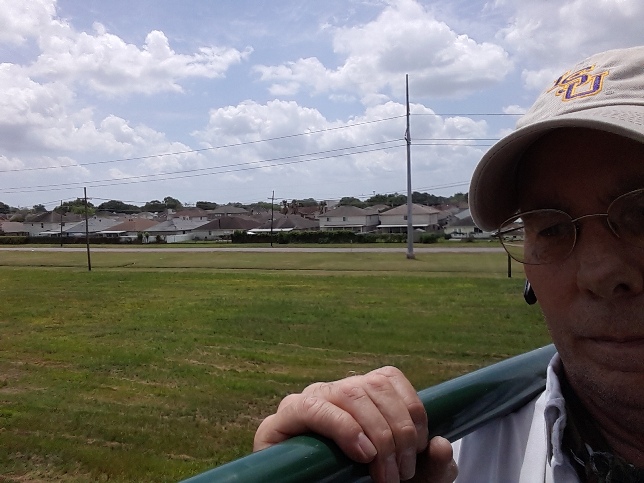
The installation was completed at 1 PM. It took five hours. At 60 years old and four and a half years after triple bypass surgery, I was happy to have survived several trips up and down the tower to document the installation. I actually feel better than I ever have and never got tired. I think even the bird survived. He must have flown away because I never saw him again. The antenna is now ready for final testing.