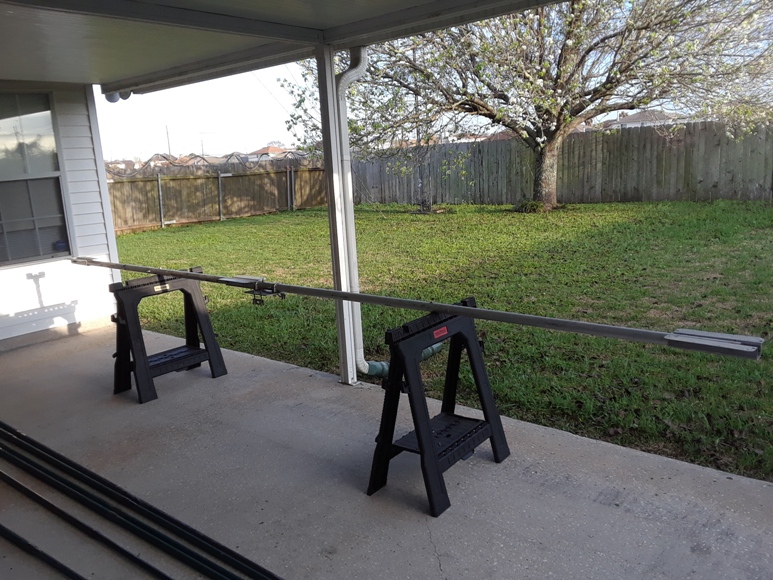
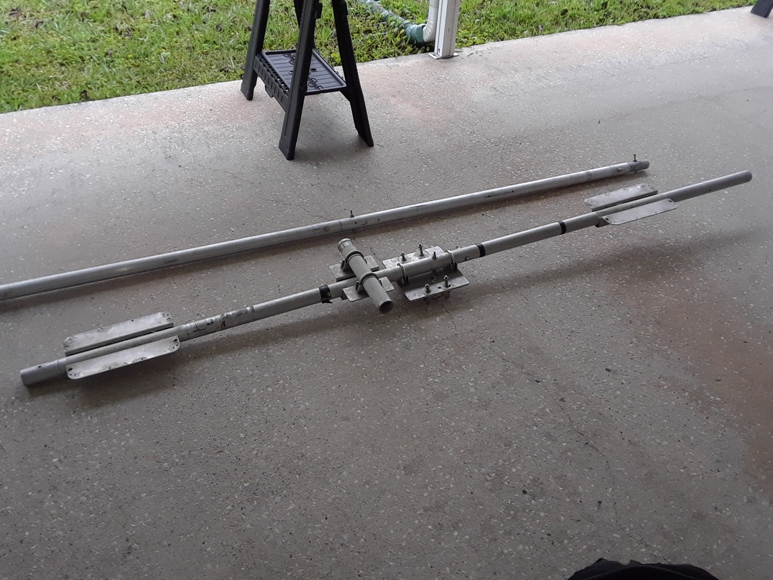
On Sunday, February 25, 2018 I put the boom back together. It was in two 7′ pieces. One 7′ piece was used as the boom of the 2-element yagi. The other piece had been stored in the garage. It wasn’t as easy as just putting the two pieces together as some modifications had been made when the antenna was converted to 2 elements. These modifications needed to be reversed.
The 30/40 meter loop dipole option was not going to be used, so the Element Return Tube (ERT) and ERT mounting bracket were removed from the boom.
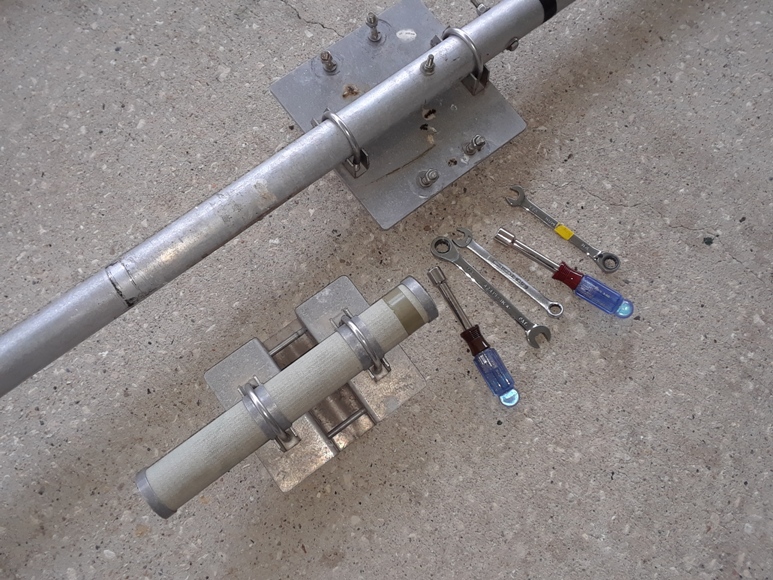
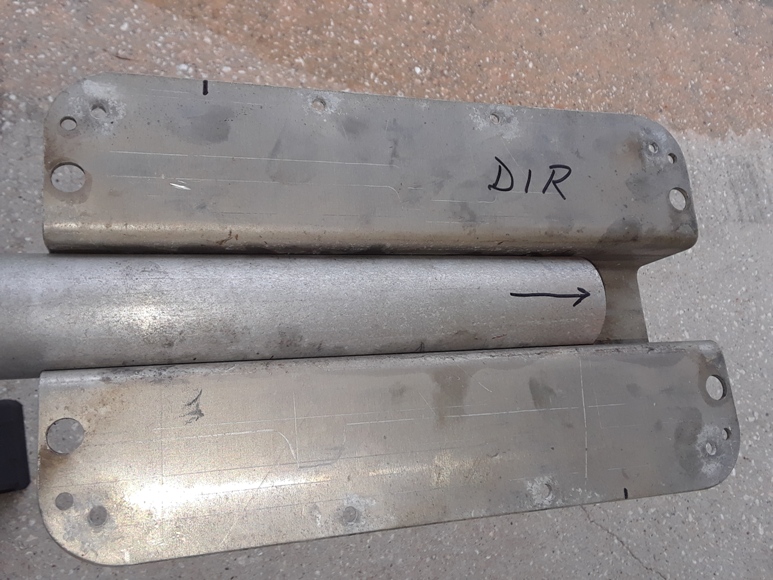
The DIR EHU (director element housing unit) mounting bracket needed to be moved to the front end of the boom. It had been relocated about 12″ back from the end of the boom in order to get the 72″ separation I used for the 2 elements. (Note: A standard SteppIR 2-element yagi has a separation of 57″. 72″ can be used to obtain more gain.) In the process, the mounting plate was reversed on the boom. I didn’t realize this at first. Not knowing which way the mounting plate should go, and there is a difference, Drawing 2A in the SteppIR 3-element yagi installation manual was checked for proper location and orientation.
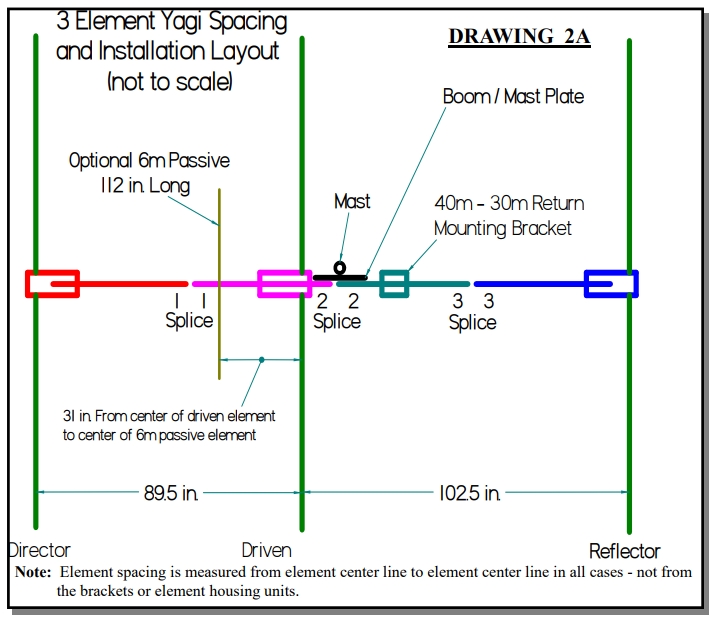
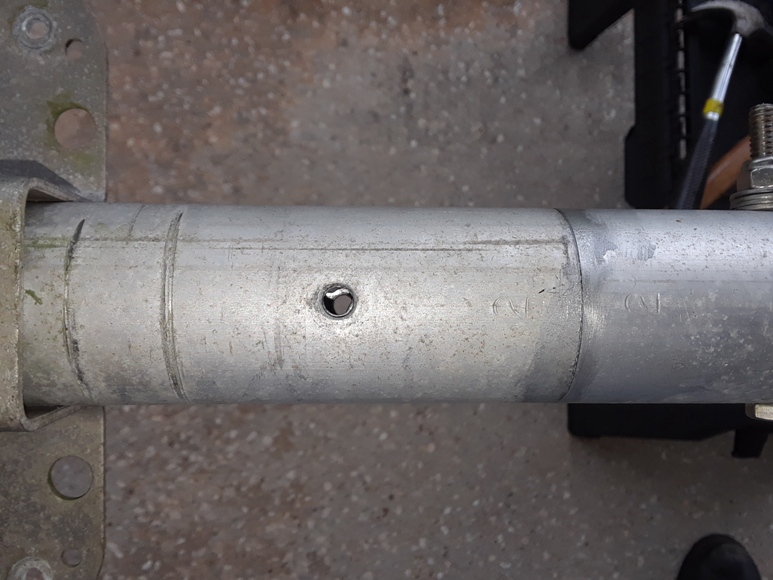
After the correct orientation of the DIR EHU mounting bracket was confirmed, it was re-installed using existing holes in the boom. Notice the gap between the end of the boom and the edge of the mounting bracket. This gap is correct. The end of the bracket does not mount flush to the end of the boom. It would mount flush if you reversed the bracket, thus causing some confusion at first.
The next step was to reconnect the two pieces of boom together. The end of one piece was dirty and needed to be cleaned. A wire wheel and drill were used to clean it. The inside of the other piece of boom was cleaned with a small wire brush. The two pieces went together without much trouble.
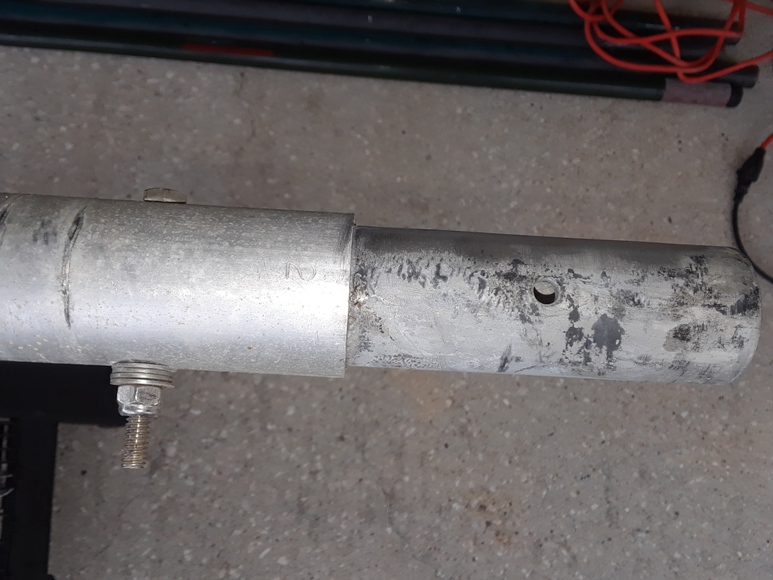
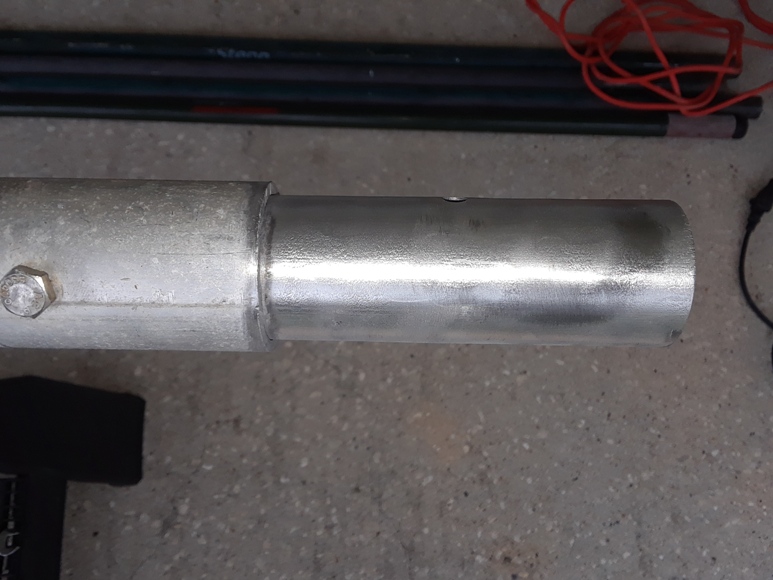
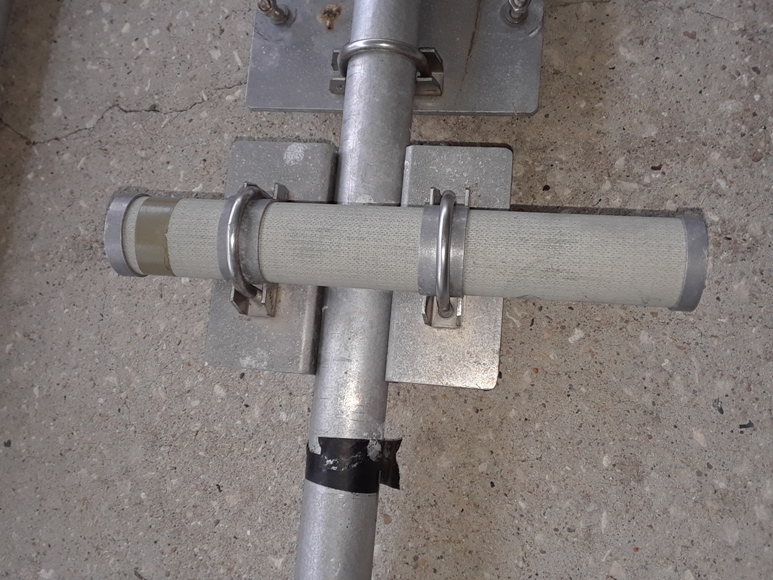
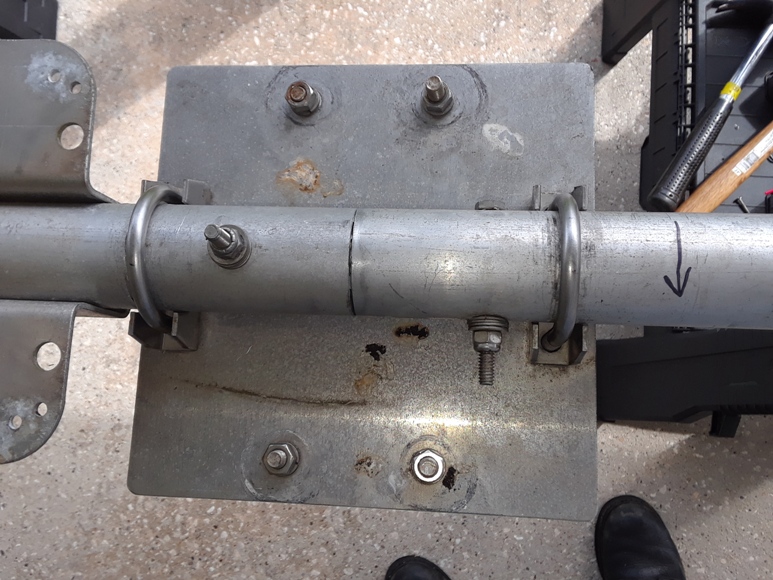
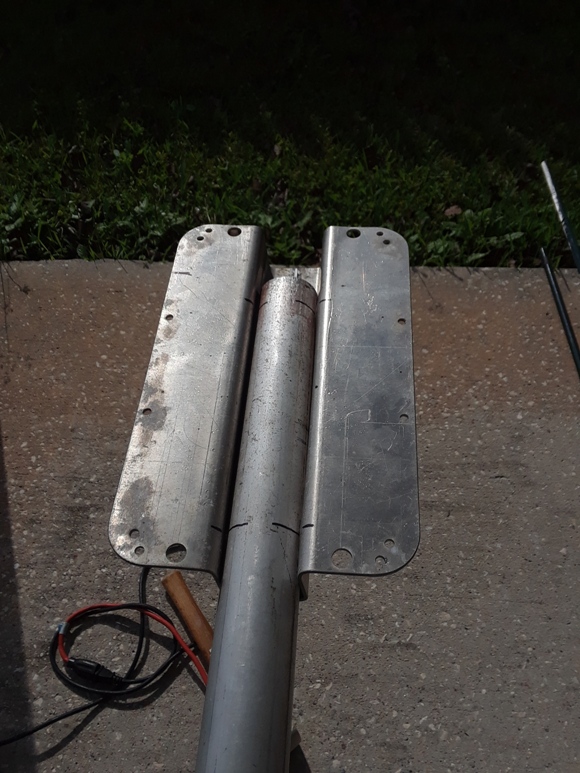
After the two pieces were put back together, some thought was required as to how the bolt holding the two pieces needed to be installed because the boom-to-mast plate is installed horizontally instead of vertically. This is because the antenna will be mounted onto the horizontal mast coming from a PVRC Mount and not on a traditional vertical mast coming out of the top of the tower. The bolt needs to be installed as to not interfere with the position of the boom-to-mast plate.
I was able to determine the correction position of the bolt by looking at pictures of the boom when I originally built the antenna in 2010. That bolt must be installed from the bottom up so the boom-to-mast plate will fit under the boom as shown in Photo 8. The boom-to-mast plate was then installed at the correct location for 3 elements. This location is directly where the two pieces of boom are connected. It is critical that both bolts connecting the boom are installed exactly as shown in Photo 8 in order for the antenna to rotate correctly on horizontal mast of the PVRC Mount.
Finally, the REF EHU (reflector) bracket needed to be re-installed onto the back end of the boom. This bracket was not used when the antenna was 2 elements and had been damaged in the hurricane.
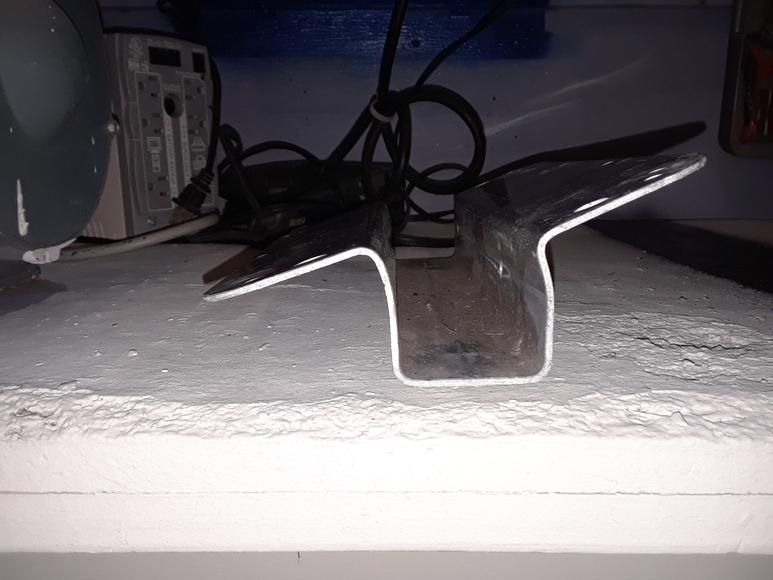
With a vise, a crowbar, and some muscle, the bracket was bent back close to its original shape.
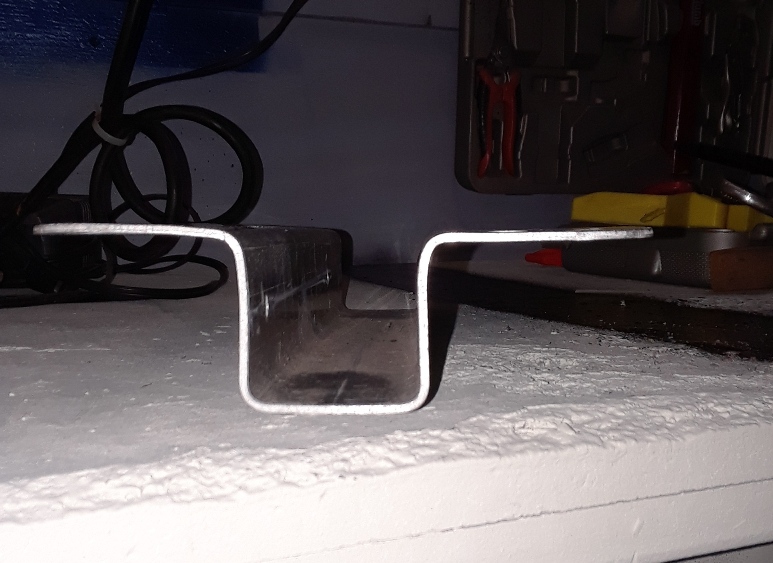
Not all the holes in the boom for the REF EHU bracket lined up perfectly. One hole had to be re-drilled using a 1/4″ bit.
This completed the reconstruction of the boom. The only other option considered was the 6-meter passive element. This antenna never had that option. Since I couldn’t muster up the parts from my junk pile, a 6-meter passive element was not installed.